
Support Blog
Run UHF RFID Readers on Raspberry Pi(32-Bit): Complete Guide
Aug
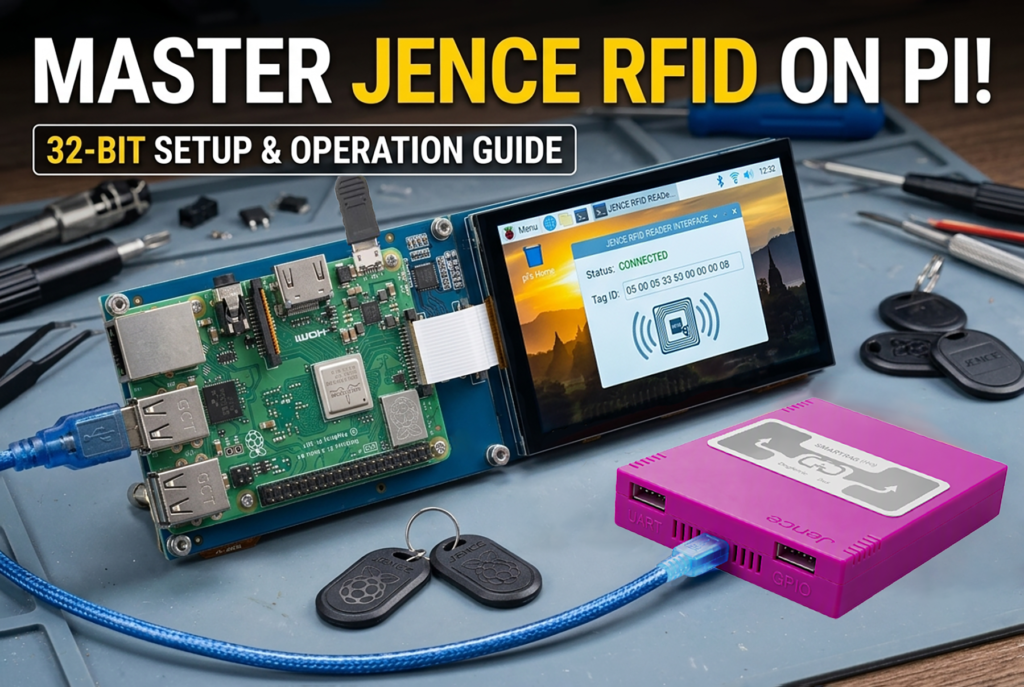
Integrating long-range UHF RFID readers with single-board computers like the Raspberry Pi 3 B+ opens up powerful possibilities for industrial automation, smart parking barriers, automated gate access control, and large-scale inventory tracking.
Welcome to the definitive Raspberry Pi 3 B+ UHF RFID reader setup guide. This comprehensive tutorial details exactly how to integrate, configure, and run high-performance hardware, including the robust JENCE J4220U and the versatile JENCE J4212U, on a 32-bit Raspberry Pi OS (Raspbian) environment. By utilizing the official JENCE open-source Linux desktop application (j4210u.sh), developers can rapidly deploy an efficient, standalone RFID scanning station.
1. System Hardware Architecture
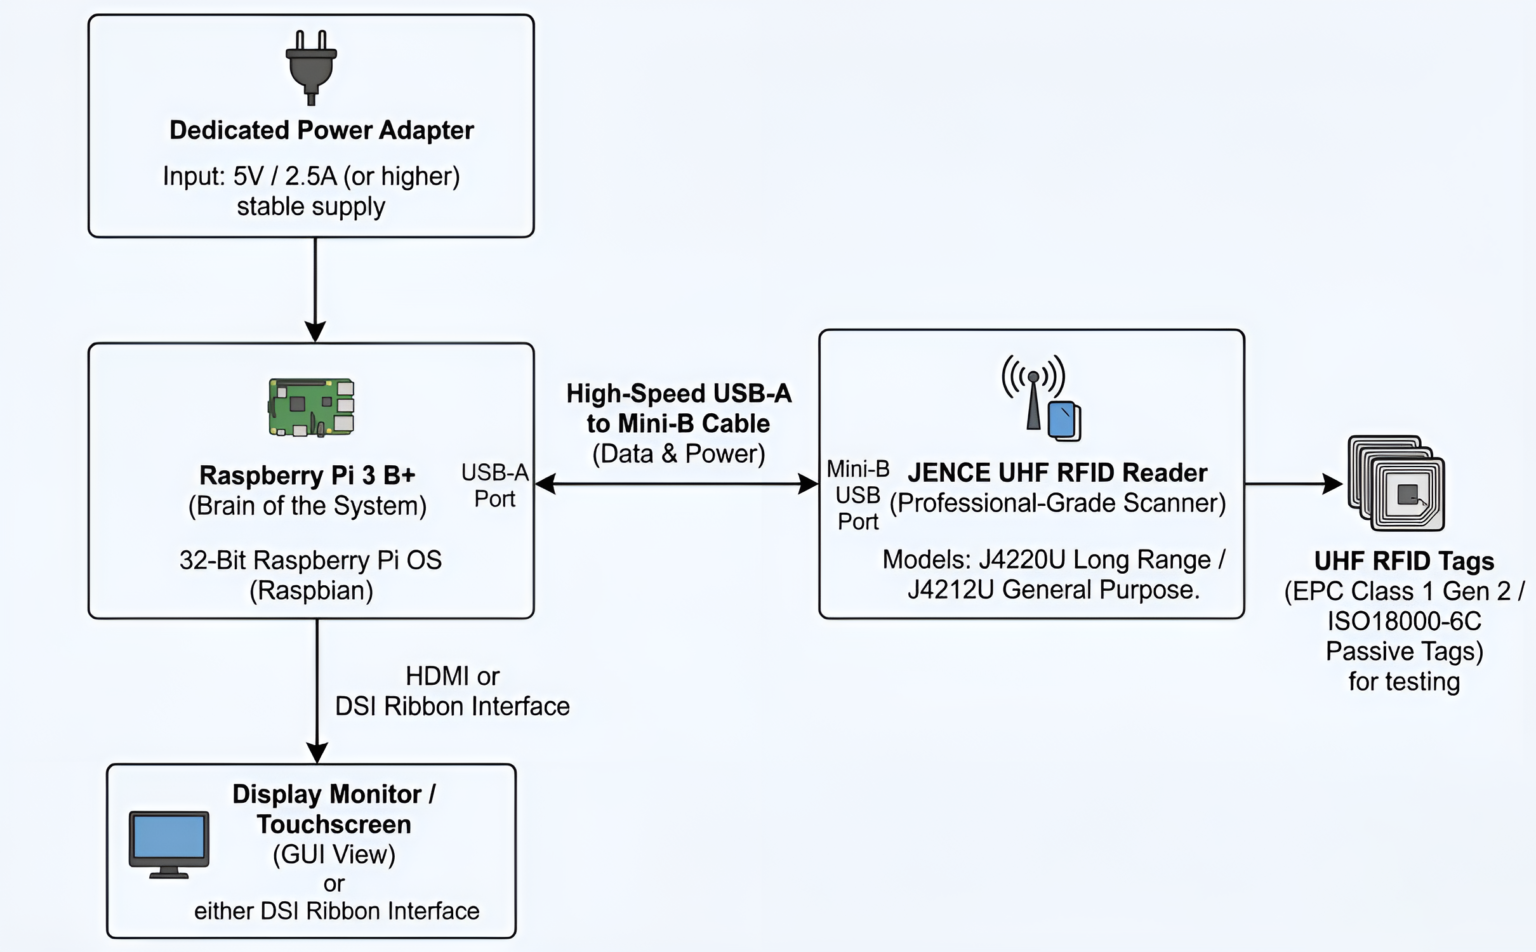
Setting up a highly responsive desktop or field-station RFID scanner using the Raspberry Pi 3 B+ requires precise hardware configuration, emphasizing a stable power supply and direct USB communications to ensure uninterrupted read cycles.
Required Hardware Components
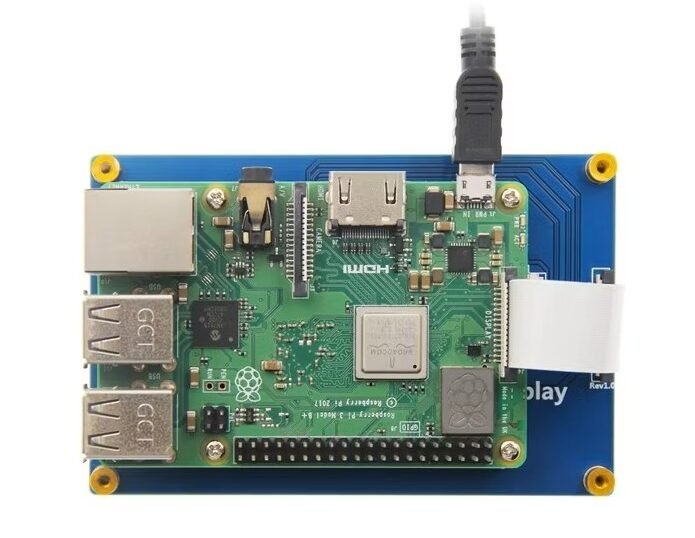
- Raspberry Pi 3 B+: Must be running the 32-bit Raspberry Pi OS (Raspbian) for optimal compatibility with the provided pre-compiled JENCE binaries.
- Dedicated Power Adapter: A stable 5V / 2.5A (or higher) power source is strictly required. The Raspberry Pi needs sufficient current to power its own CPU, the display screen, and the external USB to Mini-B RFID reader connection simultaneously without voltage drops.
- Display Monitor / Touchscreen: Connected to the Raspberry Pi via standard HDMI or the DSI ribbon interface to view the GUI.
- JENCE UHF RFID Reader: Use a professional-grade scanner like the JENCE J4220U Long Range Reader or the JENCE J4212U General Purpose Reader Writer.
- USB Cable: A standard high-speed USB-A (connected to the Raspberry Pi) to Mini-USB (Mini-B) (connected to the JENCE Reader). This cable manages both power and serial data transfer.
- UHF RFID Tags: Standard EPC Class 1 Gen 2 (ISO18000-6C) passive tags for testing the read/write capabilities.
2. Software Acquisition from GitHub
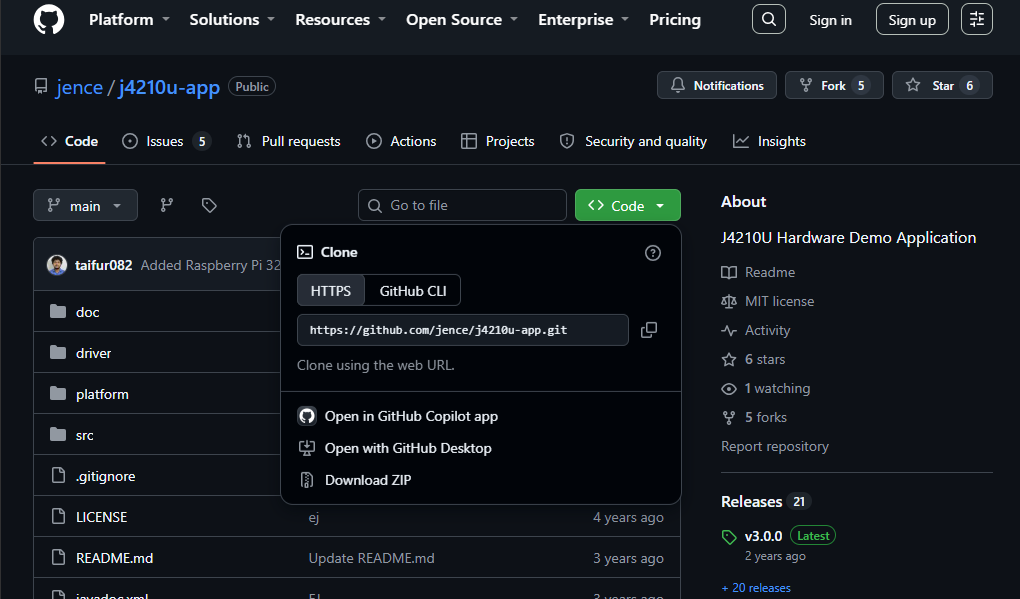
To make this Raspberry Pi UHF RFID reader setup function, JENCE provides a robust open-source, cross-platform utility framework for configuring, testing, and running continuous inventory scans directly from a Linux desktop environment.
Step 1: Clone or Download the Repository in your Raspberry Pi
Open the Terminal on your Raspberry Pi desktop. You must download the official j4210u-app repository, which contains the drivers and the user interface. You can clone it via Git or download the ZIP archive directly from the JENCE GitHub page:
git clone https://github.com/jence-rfid/j4210u.git
Step 2: Navigate to the 32-Bit Raspberry Pi Platform Directory
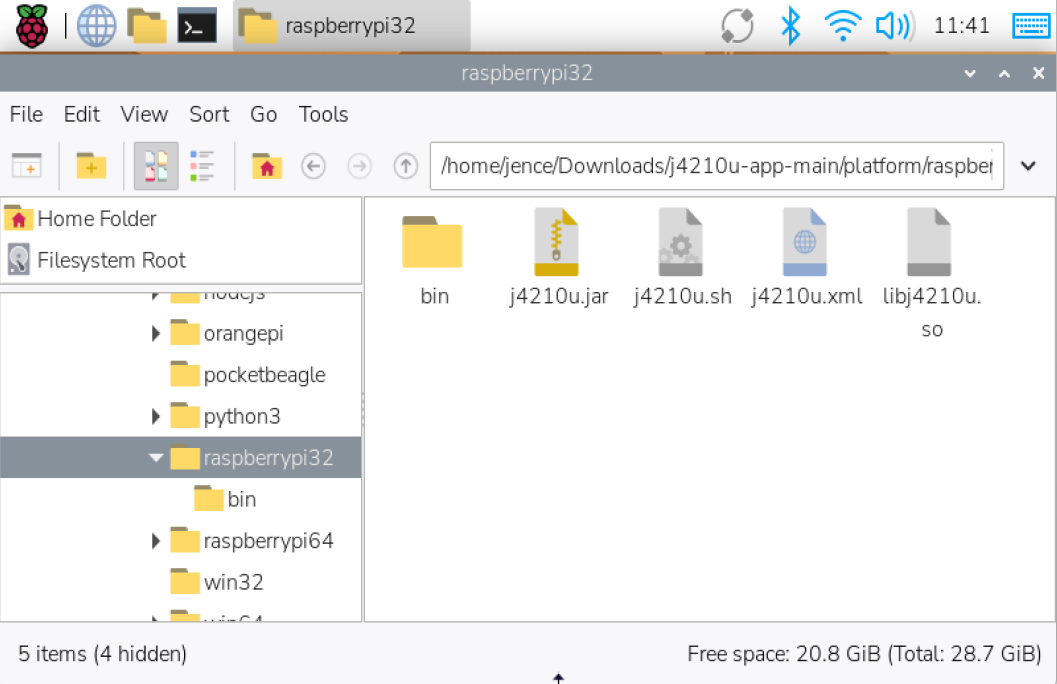
Inside the newly cloned repository (j4210u-app-main), you need to locate the specific pre-compiled GUI application designed exclusively for 32-bit ARM Linux operating systems. Run the following command in your terminal:
cd Downloads/j4210u-app-3.0.0/platform/raspberrypi-32/
or
cd Downloads/j4210u-app-main/platform/raspberrypi-32/
Directory Path Breakdown: j4210u app → platform → Raspberry pi 32
3. Launching the JENCE UHF GUI Application
Once you have navigated inside the Raspberry pi 32 folder, you will find the main executable shell script named j4210u.sh. This script initiates the Raspberry Pi Raspbian 32-bit RFID desktop GUI.
Step 1: Grant Execution Permissions
Before running the script for the very first time, Linux requires you to grant it explicit executable permissions. Use the chmod command to allow the OS to run the file:
chmod +x j4210u.sh
Step 2: Execute the Application
Launch the JENCE UHF application GUI directly from the terminal by executing the script:
./j4210u.sh
(Note: Alternatively, you can open the folder using the Raspberry Pi desktop graphical file manager, double-click the j4210u.sh file, and select “Execute in Terminal” or “Run” from the prompt.)
The JENCE UHF Application graphical desktop interface will now open on your display monitor, ready for hardware interaction.
4. Connecting and Scanning (Step-by-Step UI Guide)
Once the software application is open on your screen, follow these exact operational steps to establish a secure serial communication link with your connected JENCE RFID hardware:
Step 1: Select the Communication Port
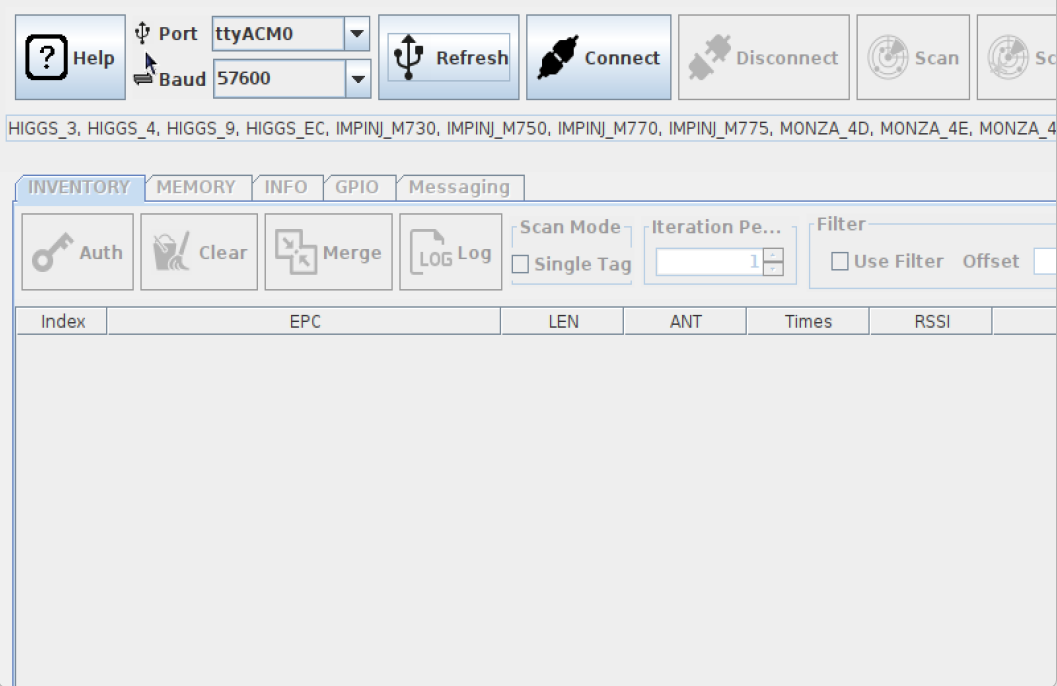
In the Port drop-down menu at the top of the application, select the COM port corresponding to your USB to serial converter setup.
- On a native Linux/Raspberry Pi setup, this hardware usually mounts and appears as /dev/ttyUSB0, /dev/ttyUSB1, or /dev/ttyACM0.
- If you are operating inside a virtualized environment or using certain specific emulators on the Pi, it may appear as COM19.
Step 2: Set the Baud Rate
It is critical to configure the baud rate to precisely match your specific JENCE reader’s internal hardware specification, or the connection will fail:
- If you are using the JENCE J4212U, set the Baud Rate to 57600.
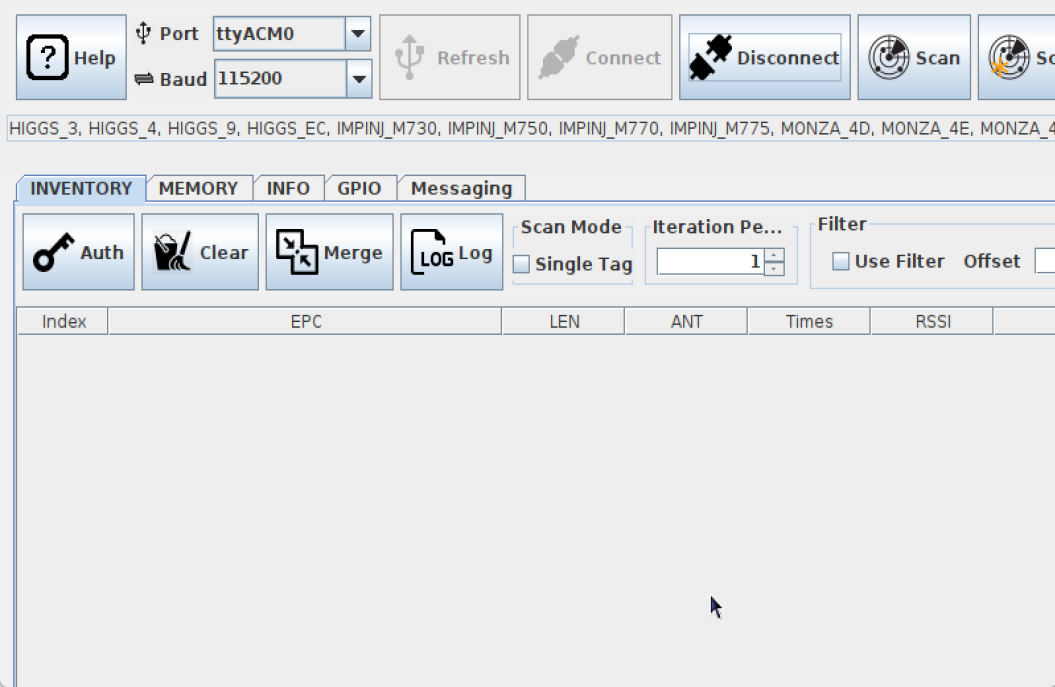
- If you are using the long-range JENCE J4220U, set the Baud Rate to 115200.
Step 3: Connect Raspberry Pi to the Reader
Click the Connect button.
- Troubleshooting Tip: If the application does not connect immediately, simply click the Refresh button to reload the USB endpoints, re-verify your selected port (e.g., /dev/ttyUSB0), and click Connect again.
Step 4: Verify Connection in the Info Tab
Navigate to the Info tab to verify that the two-way serial communication is active.
- Look for the Device ID field. If the exact Device ID, the JENCE model string, and the current firmware versions successfully populate on the screen, your Raspberry Pi 3 B+ is perfectly synced and actively communicating with the reader.
Step 5: Perform Tag Reading in the Inventory Tab
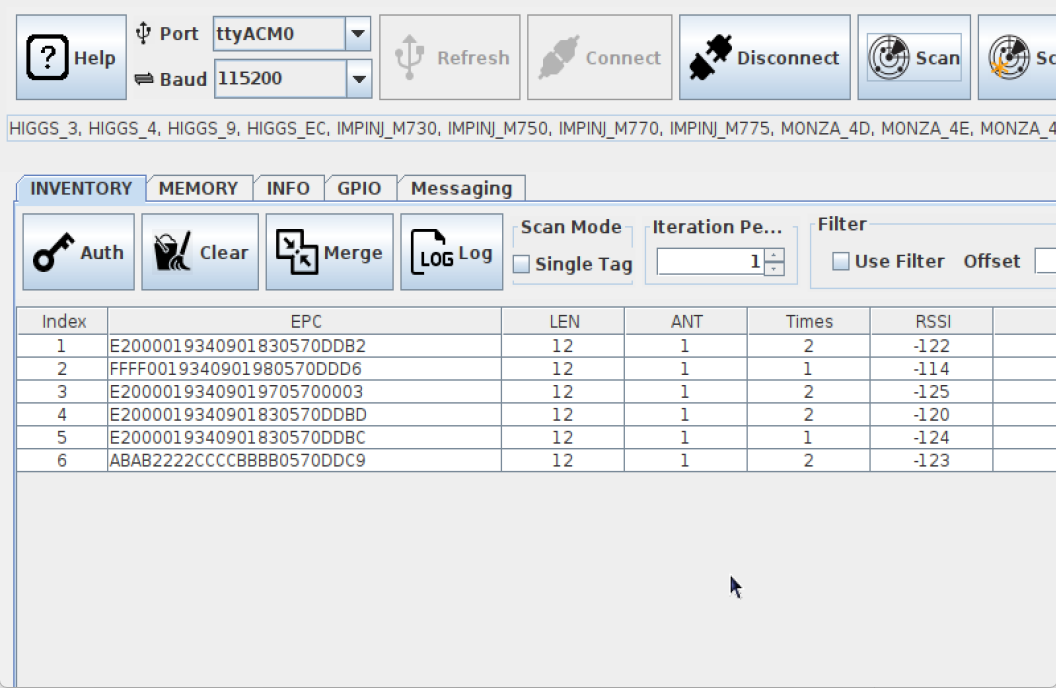
Navigate to the Inventory tab to start processing EPC Gen2 tag auto-scans:
- Single Scan: Click Scan to execute a single, instantaneous inventory pass. This is useful for manual checking.
- Continuous Scanning (Scan Server): Click Scan Server to initiate an automated, continuous background scan loop. In this mode, the application will continuously poll for RFID tags every 3 seconds. The live data window will populate in real-time, displaying tag EPCs, RSSI (signal strength) values, and total read counts, making it ideal for high-volume inventory tracking.
Subscribe to our newsletter :
